Hollows and rounds have no depth stops. The idea can be intimidating. Let's fix that.
(What follows is probably going to overwhelm at first. This post is in regards to perfect world layouts. Accuracy results in less steering, less scraping, less tinkering. You don't have to be perfect, but as you get closer your results will become more consistent and quicker.)
Take a look at this cove.
The cove is at 30 degrees. As we've discussed, the tips of the two rabbets that act as a chute for the plane to follow are also at 30 degrees. Notice that the bottom of the fillet (where the two purple triangles meet in the 3rd picture) is on the circumference of the circle. This is intentional and desired for any concave arc that is less than 60 degrees, which is the full width of the iron for any and all hollow or round planes.
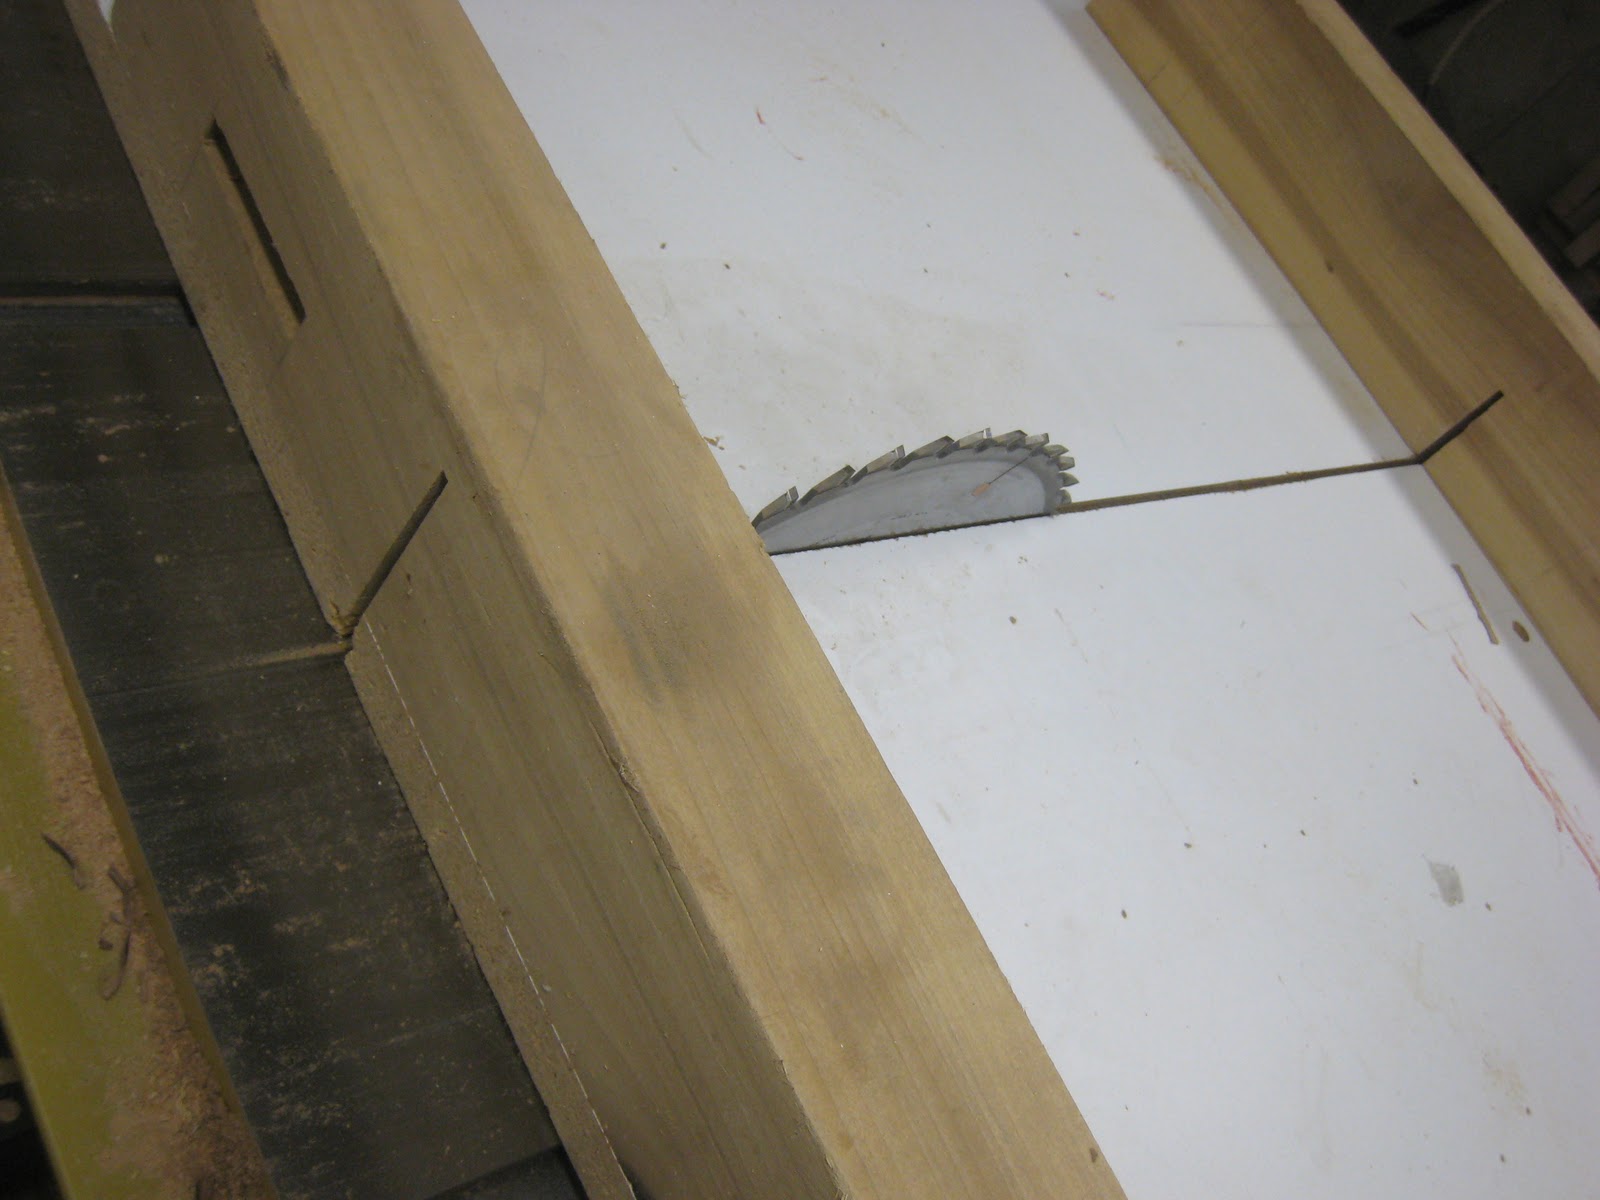
To use these points of the rabbet as an accurate guide you will have to make certain that the plane is cutting both tips. As you plane the rabbets away you will notice that there are two shavings being ejected from the escapement. As you get farther into the cut the two shavings, which start out as thin wires, will increase in size. Eventually these two shavings will become one. It's at this point that the profile is complete, you've reached the bottom of the fillet.
It won't be obvious in a short piece like this, but as you progress in a longer profile you will see that, due to human error, the rabbets are not disappearing uniformly. Your goal has to be to take that one final pass that creates a single, full width shaving to happen at once along the entire length. This will often involve gauging your progress by looking at the disappearing rabbets and taking several short passes at the beginning, middle or end.
Now let's look at an ovolo.
Again, this ovolo is laid out at 30 degrees. The chamfer is at 30 degrees (there's actually a small green chamfer in the 3rd picture that is at 60...easy to execute in the perfect world of sketchup). Notice also that the chamfer touches the circumference of the final profile. Again, as you plane you will notice two shavings being ejected in increasing width. Eventually those two will become one. Your goal has to be to take a single, full width shaving along the entire length in one final pass. You will see the chamfer vanishing. Make it uniform.
This rule applies for anything less than 60 degrees of a circle, which is a full width shaving for one of these planes.
This brings us to layout and introduces the luxury of geometry. There is only one solution in each of the examples that puts the chutes (tips of two rabbets for a round and edges of one chamfer for a hollow) at an attack angle of 30 degrees and that single point on the circle.
Take it another step further and apply this logic to these three profiles:
There's only one solution for each.
Let's look at a few erroneous examples and see how they fail:
In these examples you can see that the bottom of the fillet is on the circumference of the circle, but the tips of the rabbets are not at 30 degrees. The plane is not being presented at the proper angle
Here you will see that the tips of the rabbets are at 30 degrees but they're too wide. The plane is being presented at the proper angle but you'll be left with facets of the rabbet when you are at the proper depth.
In this last example the plane is being presented at the proper angle but you have no depth gauge. Err in this direction.
This last example also leads us to cutting greater than 60 degrees. You will not be able to use the rabbets as depth gauges in these larger examples because the two points of the rabbets or on the chamfers is greater than the width of the plane's sole. You'll be attacking with no proper depth gauge.
Draw the intended profile on the ends of your stock. It will help you achieve your desired results. Once you reach full width shavings, you will leave plane tracks as you swing the plane in subsequent passes. Stop before you are leaving plane tracks by both sides of the iron on consecutive passes at different angles. (That's horrible advice, I know.)
This doesn't have to be as complex as I've made it. These are perfect world examples and should be your goal. Try it. Try laying a profile out and be willing to fail. FAIL, FAIL, FAIL! You'll get it right within a few tries. It's obvious where the mistakes happen: wrong angle, wrong depths, rabbets left behind, plane tracks. The answers are above
With Big Pink as my witness, I've learned 85% of this by failing in my basement. You will learn quick. You will have fun. You will change the way you work.
Learn the skill that goes along with the absolute most versatile tool in the workshop (other than, I'll guess, a chisel).
As a side note, I was asked about accuracy. There are, maybe, five things in my workshop that I actively push (other than my planes). I don't know if these are the best things out there. I do know that they changed the way I work overnight.
I quote the measurements for rabbets in 64ths. A few months ago I would have quoted those rabbets in +/- 16ths. I recently bought a
Titemark marking gauge. It's quicker to be accurate to the 64th with this thing than to the 16th with my others. I quote in 64ths because it takes no more time. I don't know if it's the best marking gauge. I do know that I'm not in the market for another one. (It also has the advantage of having the cutter at the very end, which comes in handy when marking the depth of the third rabbet of an ogee after cutting the previous two.)
P. S. I do work


