

Hollows and rounds are extremely versatile and seemingly very difficult to steer. If you hold the concave edge of hollow upon a square corner you will be able to make a convex surface.

The likelihood of the beginning equaling the middle, equaling the end, and equaling what you want is slim to none.
Balancing a hollow on a square corner is possible. Now try it with a round. (I will recommend backing the iron off into the plane body. You'll see why.)

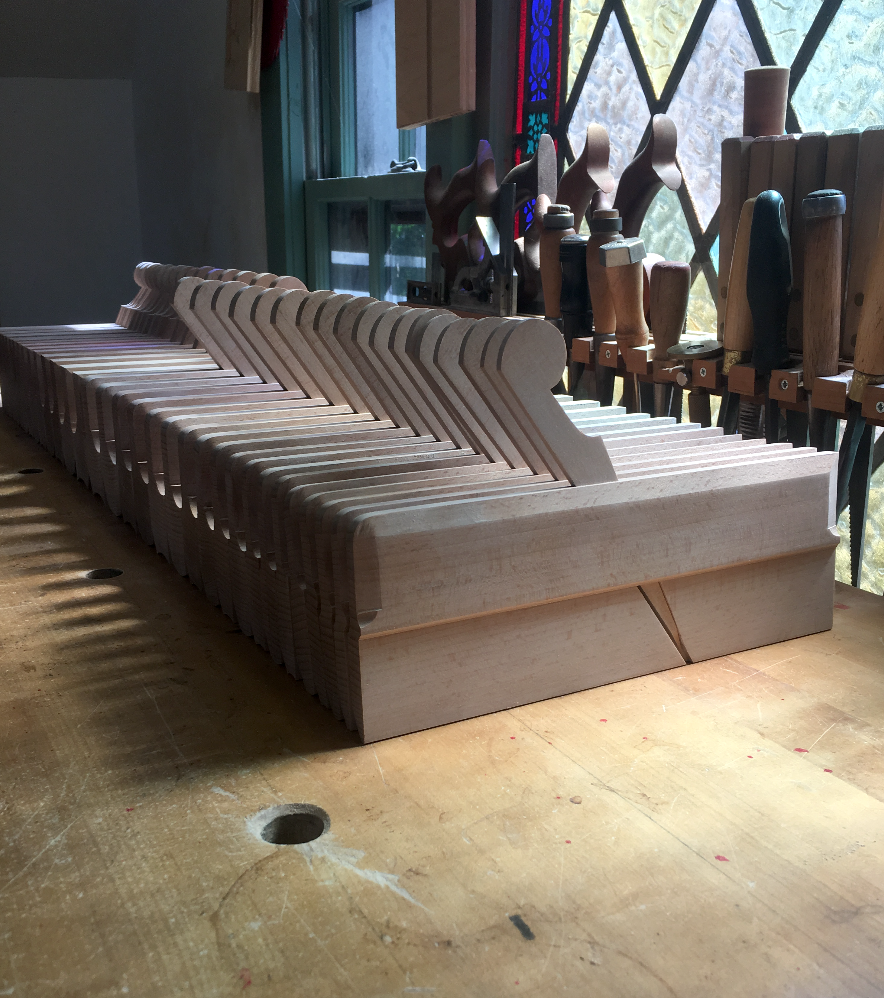
In the last few posts I fired through laying out a complex profile and then quickly rifled through the creation of what I laid out. You certainly noticed that these two blog posts focused on rabbets with no mention of actually using profiled planes. Rabbets and chamfers dictate the final result and are the key to all of the above obstacles.
Rabbets and chamfers will serve as a fence. Rabbets and chamfers will serve as a depth gauge. Additionally, rabbets and chamfers will remove the bulk of material with an edge that is easier to maintain.
Balancing the convex sole of a round on a single, square point is nearly impossible. Adding a rabbet will give the plane two points upon which to register instead of just one. The rabbet will act as a chute for the plane to ride in and will thus serve as a fence.

Note that the vertex of the rabbet (the inside corner) nearly falls upon the finished profile. This vertex, along with the surrounding vertical and horizontal surfaces, is your depth gauge. If a rabbet is uniform then you shall make it regress uniformly as you progress into your profile.
Let us quickly move to the hollow. We must give this plane two points to register upon in the same fashion we did with the rabbet for the round. Here we are going to add a chamfer.

The plane will register upon the outside edges of the chamfer. Changing the angle of this chamfer will change the angle at which the plane is presented into the wood, which will change your final profile.
The bulk of the steering and manipulation of these tools is done with rabbets and chamfers. Every time you use a hollow start with a chamfer. Every time that you use a round start with a rabbet.
This looks easy, right? Now try it with the appropriately sized planes to make the framing in the previous bedstead illustrated in E. J. Warne's Furniture Mouldings.

We will be using a #2 hollow and round, which cut a radius of 2/16". Good luck!


These tiny profiles are not the easiest place to start. Of course, we didn't start here so go back and read some old posts if you are interested.
All profiles are a series of convex, concave and flat surfaces. Hollows and rounds create exactly this. These profiles are made with the same basic series of steps. You just need to learn the steps. 1, 2, 3...


When you learn the steps with appropriately functioning tools you will be able to decorate your furniture in the manner you see fit, never relying upon either your limited selection of router bits or Woodcraft's. You will never have to let these selections determine your next project or how it appears in low light or with poor photography.

Of course, if you have the shaper knives for one of the profiles above and don't see the difference between the two, that's also fine. Keep making things.


This comment has been removed by a blog administrator.
ReplyDeleteMatt,
ReplyDeleteI've been reading back in your blog and I finally had to stop and say something; wow, and thanks. This is a book's worth of knowledge, a summer lesson plan. You've made the process make sense, as if I could just go out in the shop and do it right now.
Which I might.
Thank you
Carl,
DeleteI thank you for the note. I often wonder if people are even reading these things.
Matt